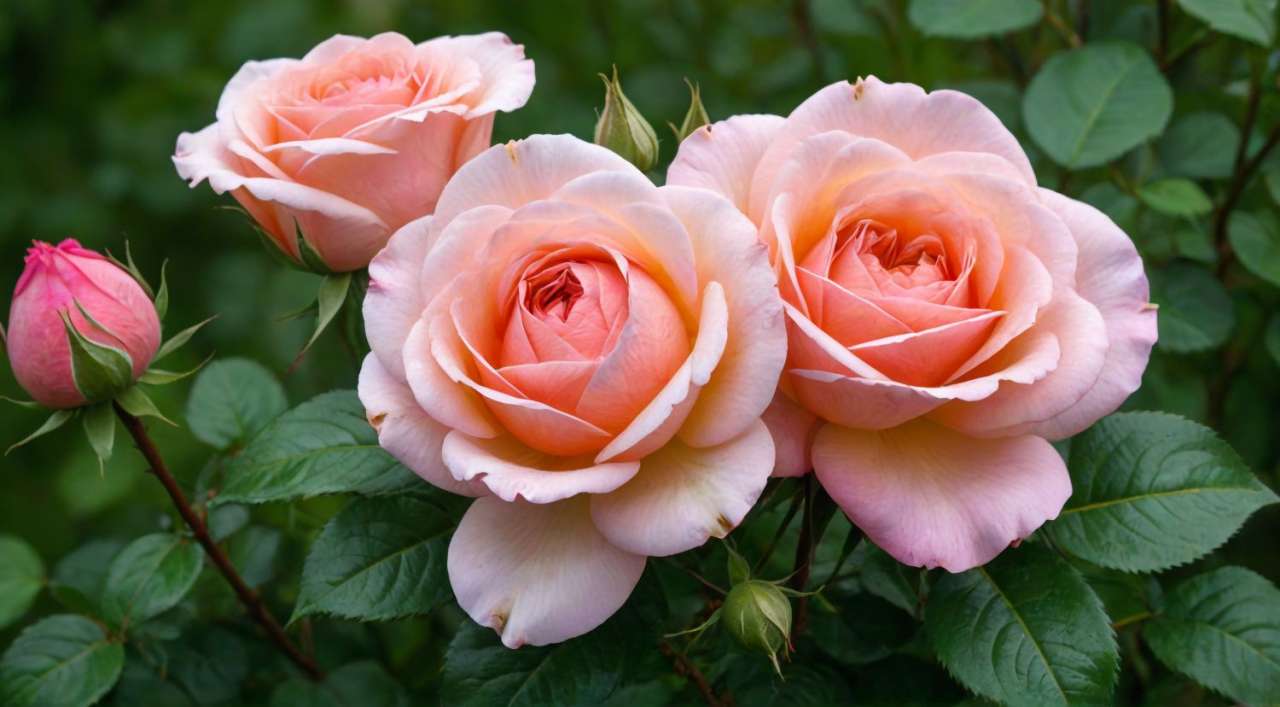
Roses
Rose Care Guide for Coastal BC
How to Grow Beautiful, Healthy Roses in South Coastal BC
Roses reward gardeners with months of spectacular blooms, fragrance, and pollinator activity. With the right planting location, soil preparation, and seasonal care, roses thrive in our mild coastal climate.

Choosing the Right Rose
There’s a rose for every garden style:
-
Hybrid Tea Roses – Large, classic blooms on long stems
-
Floribunda Roses – Clusters of continuous colour
-
Shrub Roses – Hardy, low-maintenance landscape performers
-
Climbing Roses – Perfect for trellises, fences, and arches
-
Groundcover Roses – Spreading habit for borders and slopes
Not sure which rose is right for your space? Visit your local GARDENWORKS and our team will help you choose.
How to Plant Roses
Proper planting sets your rose up for long-term success.
Location
-
Minimum 6 hours of full sun daily
-
Good air circulation helps prevent disease
-
Avoid low spots where water collects
Soil
-
Rich, well-drained soil
-
Amend with compost – we reccomend Sea Soil, Gardenworks Composted Mushroom Manure or Gardenworks Composted Cattle Manure
-
Roses prefer slightly acidic to neutral soil (pH 6.0–6.5)
Planting Steps
-
Dig a hole twice as wide as the root ball.
-
Mix compost into the removed soil.
-
Plant at the same depth as it was in the pot (graft just above soil level) .
-
Water thoroughly with Gardenworks Transplanting Fertilizer 5-15-5 to encourage root development.
-
Apply mulch to retain moisture and suppress weeds.
Watering Roses
Roses prefer deep, consistent watering.
-
Water deeply 1–2 times per week (depending on weather).
-
Avoid overhead watering to reduce disease.
-
Water early in the day so foliage dries quickly.
-
Newly planted roses require more frequent watering during establishment.
In South Coastal BC, increase watering during dry summer periods.
Feeding & Fertilizing Roses
Roses are heavy feeders and bloom best with regular nutrition.
-
Apply a balanced rose fertilizer in early spring as new growth appears such as Gardenworks Rose Food 6-12-16.
-
Feed again after the first flush of blooms.
-
Stop fertilizing by late summer to allow plants to prepare for winter.
-
Top-dress annually with compost for improved soil health.
Ask in store about the best fertilizers available at GARDENWORKS for your specific rose type.
Pruning Roses
Pruning encourages healthy growth and abundant blooms.
When to Prune in Coastal BC:
Late February to early March, just as buds begin to swell.
Basic Pruning Tips
-
Remove dead, damaged, or crossing branches.
-
Cut just above an outward-facing bud.
-
Open the centre of the plant for airflow.
-
Deadhead spent blooms during the growing season to encourage repeat flowering.
-
Hardy Shrub Roses generally do not require much pruning
Climbing roses require lighter structural pruning — ask us for guidance.
Common Rose Problems & Solutions
Our coastal climate is ideal for roses, but moisture can increase disease pressure.
Black Spot
-
Improve air circulation.
-
Remove affected leaves promptly.
-
Avoid overhead watering.
Powdery Mildew
-
Ensure good sunlight and airflow.
-
Avoid overcrowding.
Aphids
-
Spray off with water.
-
Use an organic based insect control such as Safer’s End-All
-
Encourage beneficial insects like ladybugs.
Visit GARDENWORKS for eco-friendly pest and disease solutions.
Seasonal Rose Care Calendar (Coastal BC)
Early Spring
-
Prune
-
Fertilize
-
Refresh mulch
Late Spring & Summer
-
Deadhead regularly
-
Water deeply during dry periods
-
Monitor for pests
Fall
-
Reduce feeding
-
Clean up fallen leaves
-
Add compost
Winter
-
Minimal care needed in our mild climate
-
Protect newly planted roses if extreme cold is forecast
Why Plant Roses?
-
Long bloom season from late spring through fall
-
Excellent for cut flowers
-
Attract pollinators
-
Add structure and fragrance to the garden
Roses are easier to grow than many people think — especially in South Coastal BC’s temperate climate.
Rose Care FAQs
When should I prune roses in British Columbia?
Prune in late February or early March as buds begin to swell.
How much sun do roses need?
Roses require at least 6 hours of full sun daily for best bloom production.
How often should I water roses?
Water deeply once per week. Increase watering during hot, dry weather.
Why aren’t my roses blooming?
Common causes include insufficient sunlight, lack of fertilizer, improper pruning, or too much nitrogen.
Do roses grow well in Coastal BC?
Yes. Our mild climate is excellent for many rose varieties when planted in full sun with good drainage.
Need Help?
Visit your nearest GARDENWORKS location for expert advice, soil amendments, fertilizers, and beautiful rose varieties suited to our region.
Growing Roses in Penticton & the Okanagan
Gardening conditions in Penticton are significantly different from South Coastal BC. The Okanagan has hotter, drier summers and colder winters, which means rose care requires a few adjustments.
Climate Considerations
-
Hot, dry summers
-
Lower humidity (fewer fungal disease issues)
-
Colder winter temperatures
-
Greater temperature swings
Sun Exposure in Penticton
While roses love full sun, extreme afternoon heat can stress some varieties.
-
Full sun is still ideal
-
In very hot, exposed sites, light afternoon shade can reduce stress
-
Ensure consistent watering during heat waves
Watering in the Okanagan
Roses in Penticton require more frequent watering than coastal locations.
-
Deep water 1–2 times per week during summer
-
During heat waves, monitor soil moisture closely
-
Mulch heavily (2–3 inches) to retain moisture
-
Consider drip irrigation for consistent watering
Avoid shallow watering — deep soaking encourages strong root systems.
Soil in Penticton
Many Okanagan soils are sandy or rocky and drain quickly.
-
Incorporate generous amounts of compost when planting
-
Improve water retention with organic matter
-
Monitor soil moisture more frequently than coastal gardens
Winter Protection
Colder winter temperatures mean extra protection may be needed.
-
Stop fertilizing by late summer
-
In late fall, mound soil or compost around the base of grafted roses
-
Mulch root zones for insulation
-
Avoid fall pruning — wait until early spring
Hardy shrub roses tend to perform especially well in the Okanagan.
Disease & Pest Differences
Lower humidity means:
-
Less black spot and fungal disease pressure
However:
-
Spider mites can be more common in hot, dry conditions
-
Monitor plants during extended dry heat
Best Rose Types for Penticton
-
Hardy shrub roses
-
Landscape roses
-
Many Canadian-bred varieties
-
Heat-tolerant hybrid teas and floribundas
Visit your local GARDENWORKS Penticton team for recommendations tailored to Okanagan growing conditions.
