DIY Potted Amaryllis
Growing an Amaryllis is relatively easy if you follow a few basic guidelines.
You will need:
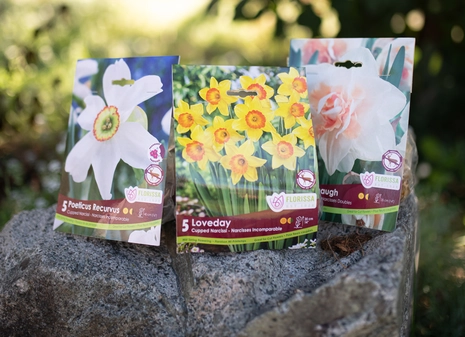
- A healthy and plump bulb. (The larger the bulb the more blooms it will produce.)
- A pot that is roughly 2” wider in diameter than the bulb you have chosen. Ensure the pot has good drainage. A heavy pot will prevent the plant becoming top-heavy (those flowers are big) and toppling over.
- Amaryllis like to have their roots crowded so don’t plant your bulb in a large container.
- A potting soil that had more sand (drainage) than peat (water retention). Amaryllis hate soggy soils.
Once you have selected the variety you like:
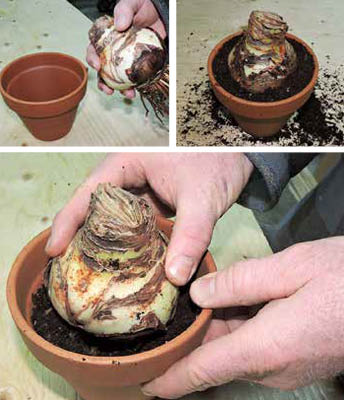
- Choose a firm plump bulb with thick roots, trim off any shriveled and/or broken roots.
- Place a small amount of potting soil in the bottom of the pot so that when planted, the top of the bulb should stick up (1”) above the top of the pot.
- Fill in the soil around the bulb, leaving 1/3 of the bulb showing above soil level (Amaryllis hate moisture around their “necks”)
Now give your freshly planted Amaryllis a generous drink of water. Don’t be shy with this first watering, this is the first moisture the bulb will have had in a while. Then you need to wait, and water sparingly until you see buds start to poke out of the top of the bulb.
Once the flower bud starts to emerge, water regularly to keep the soil damp, but not soggy. Once the blooms open, you will need to check it daily. Amaryllis plants should be placed in a bright but cool location, too much warmth will cause the bloom to grow too fast, and the show will be over too soon.
The flowers open within 6 to 7 weeks, so if you miss this holiday season, you can still enjoy a stunning January show.